Cue Pads
AllWhat it's for — Cue Pads give you a grid of instant-trigger buttons you play by hand — clicking, pressing keyboard keys, or sending MIDI from a controller. A pad holds an action, and firing a cue is only one of the kinds available: a pad can also send a protocol action directly (a grandMA3 executor, a QLab GO, a MIDI note), fire a Look, run a macro or a pad group, go to the next or previous cue, reset the cue stack, blackout everything, or hand control back to Auto Pilot.
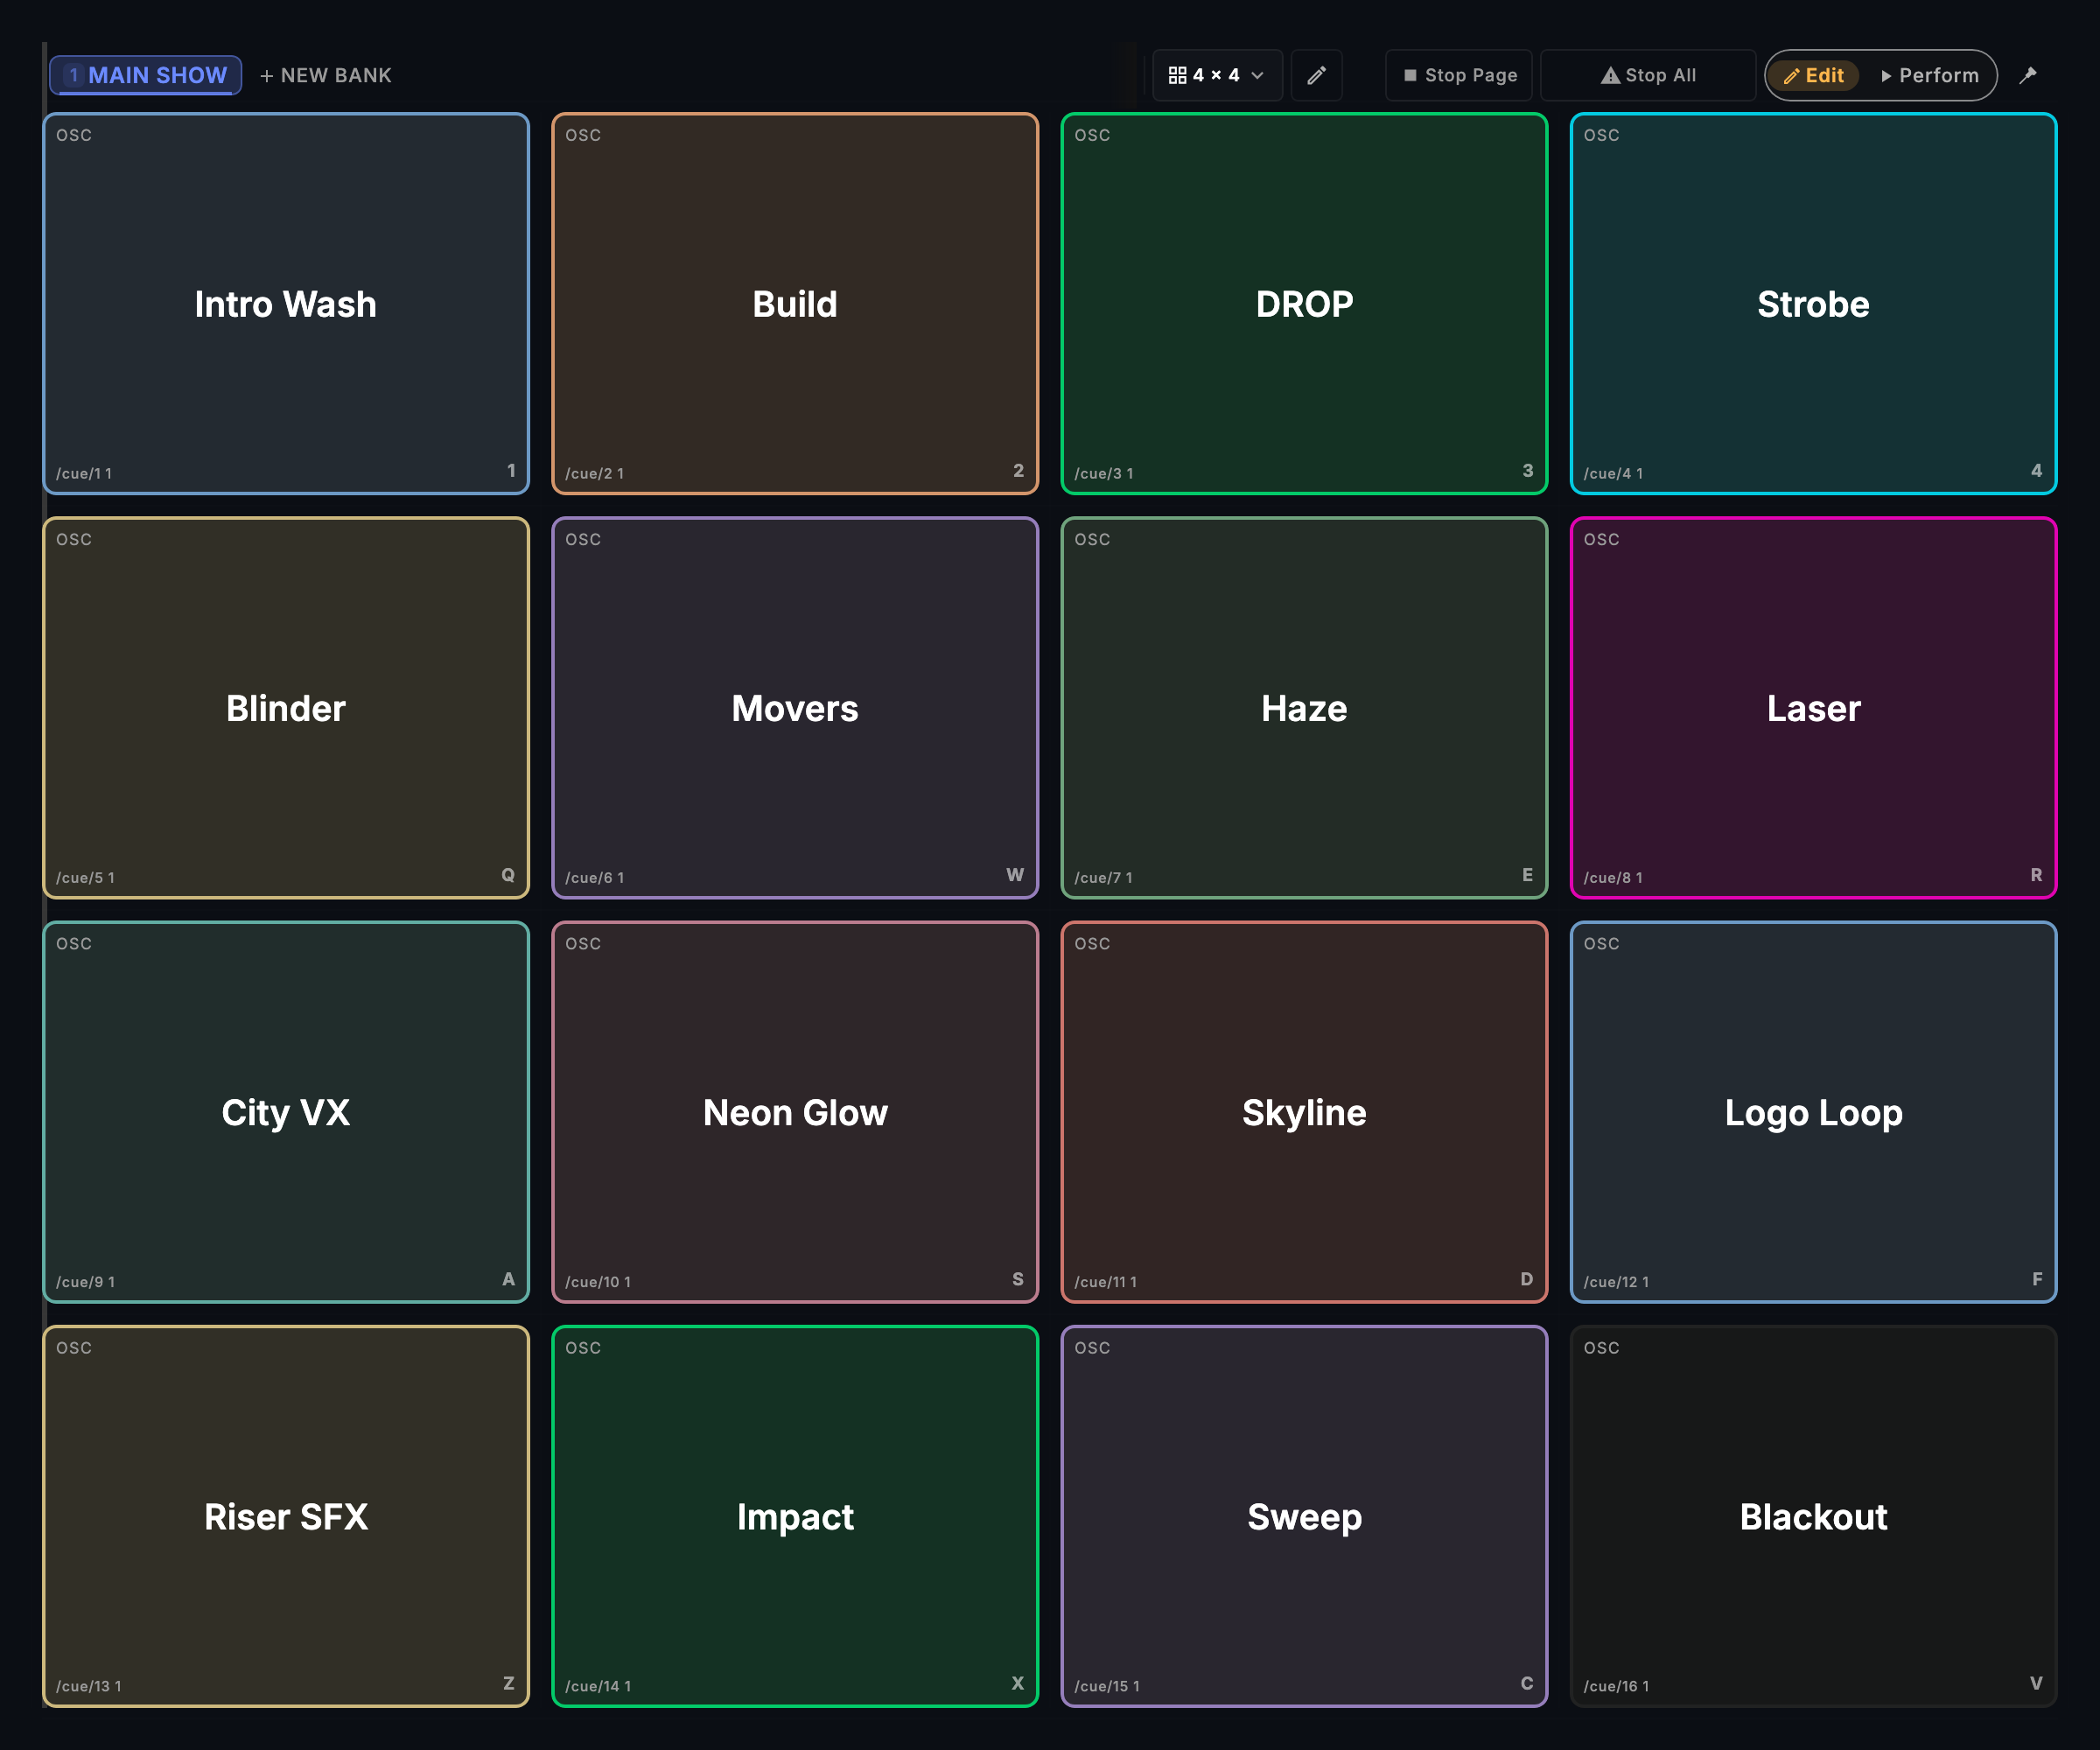
The screen, region by region
Bank rail (left edge, vertical) — A scrollable list of banks. Each bank is an independent grid of pads. Click a bank to switch to it. The rail auto-hides when only one bank exists; drag its edge to expand it. Right-click any bank for the bank management menu (rename, duplicate, resize, lock, set colour, delete).
Pad grid (main area) — The matrix of pads for the selected bank. Each pad shows its own name and colour, and — on pads large enough to carry it — a small label naming the protocol it sends to. The pad lights up when it fires. Pads can also show warning badges:
- Connection badge — the output's connection is paused. The cue will not send output until the connection recovers.
- Stale-cue badge — the pad's cue reference is missing (cue was deleted). Reassign or remove the pad.
Bank selector strip (bottom of grid) — Numbered tabs for quickly switching banks without using the bank rail.
Common tasks
- Trigger a pad — Click the pad with the mouse. Keyboard keys follow the pad's place in the grid, counted from the left: row 1 =
1–8, row 2 =Q–I, row 3 =A–K, row 4 =Z–,. A bank only 4 pads wide therefore reads1–4,Q–R,A–FandZ–V. A pad can also be given its own key in the pad editor. MIDI: send a Note On on the configured channel — the pad fires on note-on and releases on note-off. To bind a pad to a controller key, right-click it in Edit mode and choose Assign MIDI…, then press the key (Clear MIDI Binding removes it). - Set a pad's fire mode — Right-click the pad → Mode:
- Activate — fires once on press; no hold behaviour. The default.
- Toggle — first press fires; second press releases (use for held states like a strobe).
- Flash — active while held; releases as soon as you let go (keyboard or MIDI). If the release event is lost, the pad auto-releases after 30 seconds so nothing stays stuck on.
- Phrase Latch — holds until the next phrase boundary in the playing track, then hands back to Auto Pilot. Auto-releases after 60 seconds as a safety net.
- Repeat — re-fires the pad's action on an interval while held, like a note-repeat button; stops on release (same 30-second lost-hold safety as Flash).
- Set what a pad does — Right-click the pad → Edit, then pick the kind on the editor's Action tab (a pad in any fire mode other than Activate has Activate and Deactivate tabs instead). One chip per protocol comes first (Look, GMA3, Resolume, QLab, and so on), then Cue Control (Fire Cue, Go Next, Go Previous, Stack Reset) and Advanced (Send OSC, Pad Group, Blackout All, Resume AutoPilot). Stack Reset rewinds the cue stack to the top and sends nothing to the rig; it does not stop anything that is running. A Macro pad is not picked here: the macro recorder makes it (see Record a macro below). To go the other way — from a cue you already have — use Assign to Pad on the Cues screen and choose the slot. The dialog draws the bank slot by slot as the grid does: click an empty slot to place the pad there, or an occupied one to replace it (you are asked to confirm, because the pad's name and action are rewritten). It works whether the pads are in Perform or Edit, and it is one undo step (
Cmd+Ztakes the assignment back). It is refused while Panic is active, on a locked bank and where the pad would cover another pad; the dialog stays open and says which. - Create a new bank — Click the + at the end of the bank rail (or the + New Bank pill on the bank strip below the grid). Give it a name and set the grid size.
- Rename a bank — Right-click the bank → Rename.
- Duplicate a bank — Right-click the bank → Duplicate.
- Resize a bank grid — Right-click the bank → Resize. Choose from the available grid dimensions.
- Lock a bank — Right-click the bank → Lock Bank (Read-Only). A locked bank cannot be edited accidentally during a show; it still fires normally.
- Colour-code a bank — Right-click the bank → Bank Color. The colour appears on the bank tab for quick identification.
- Record a macro — Click REC on the macro recorder bar (hidden in Immersive mode). Tap pads to record the sequence, then press Stop. The macro plays back the sequence in order.
- Test-fire a pad — Right-click the pad → Test Fire. This is also what marks the pad checked in Pre-show Review: readiness advances on a deliberate test fire only, never on a live press.
Tips & gotchas
- Connection badges mean the connection is down. Output to that device is suspended until the connection recovers automatically. Check the CONNECT section (Devices screen) for the connection status.
- Stale-cue badges appear when a referenced cue is deleted. Right-click the pad and reassign or clear it to stop the warning.
- Keyboard coverage is limited to 4×8. If your grid is larger than 4 rows × 8 columns, pads beyond that range cannot be triggered from the keyboard. A hint banner appears at the top of the grid when keyboard coverage is incomplete.
- MIDI learn vs. MIDI grid. Individual pads learn a MIDI message from your controller (Assign MIDI… in the pad's right-click menu, Edit mode only; the learn dialog times out); mapping an entire controller grid (a Launchpad or APC) to the pad layout is set up in Settings → MIDI & Sync → Grid Controller — see MIDI Grid Controllers.
Related
- Cues — The master cue stack a Fire Cue pad triggers
- Palette — Looks: named output states a pad can fire directly, without a cue in between
- Devices — Check and fix the connection issues behind a connection badge
- Cues, Pads or Scenes? — When a pad is the right surface, and when a cue or a Look is
- Intents and Actions — A pad holds one action; it never carries an intent
Looking for a quick fix?
The Help Center has short task-focused articles and a support team that responds within 24 hours.